
Node-RED is a powerful flow-based development tool that allows you to create automation workflows, IoT applications, and more. Render.com provides a straightforward way to deploy Node.js applications, including Node-RED, with a free tier option.
We will show you how to make the data that Node-Red saves to disk persistent even on a free instance without a disk.
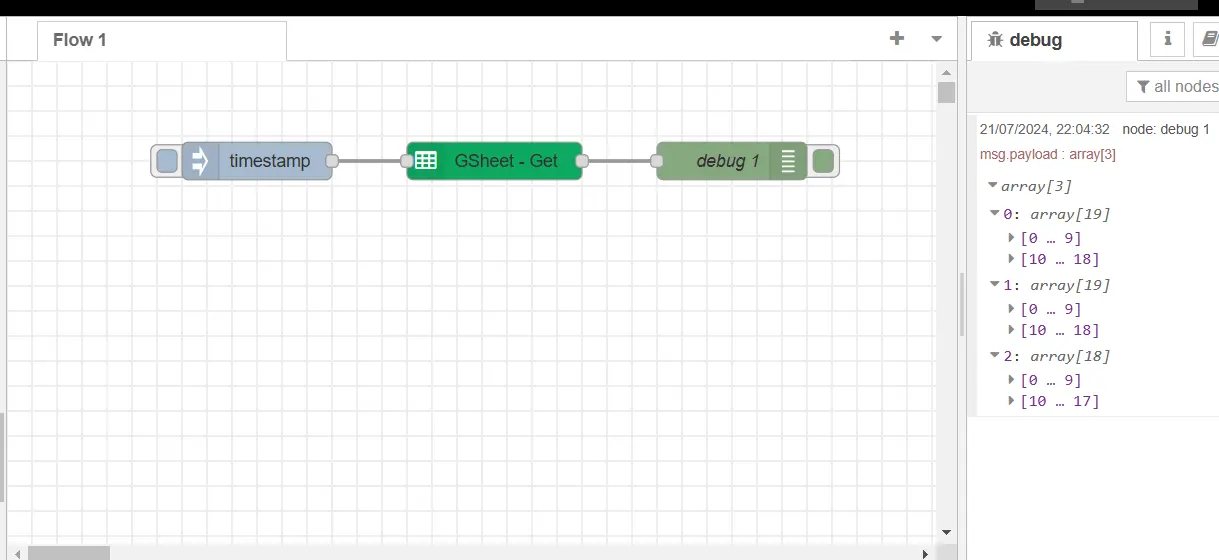
I have added a custom node that reads and writes to a google sheet to illustrate this.
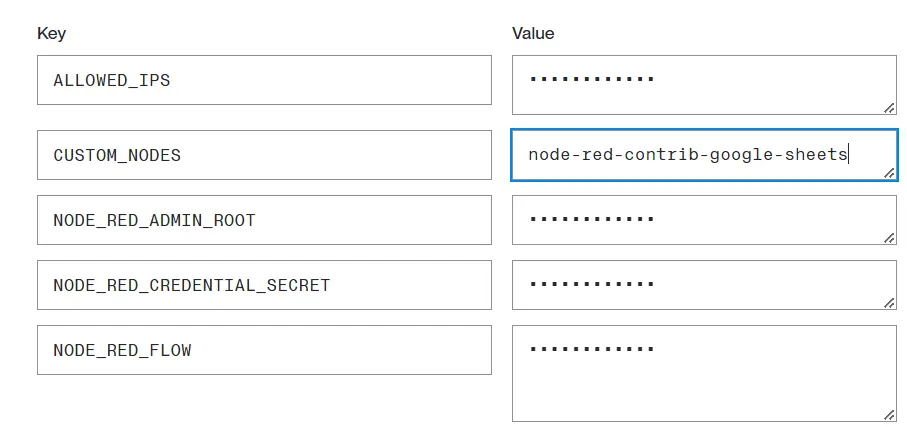
The node is added using the environment variable CUSTOM_NODES.
Node-RED stores its data in the /data directory. When using the google sheets node the credentials to connect to your google account is stored in the flows_cred.json file. If the server spins down when there is no traffic coming in the flow_cred.json and flows.json file will be lost. The scripts at Apivis that you can deploy with a click of a button takes care of that. If the files are copied to the environmental variables it will be detected when the instance is deployed again and read back in again preserving the credential settings and the flow created.
Copy the data
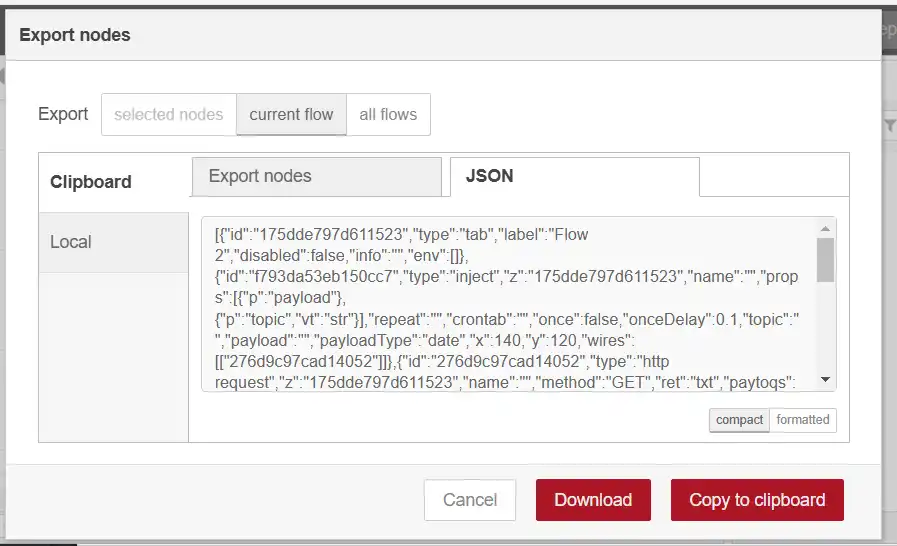
The flow with the google sheets node can be exported using the export option from the menu using copy to clipboard and then pasted to the environment variable NODE_RED_FLOW.
The flows_cred.json can be read from the /data directory using the read file node.
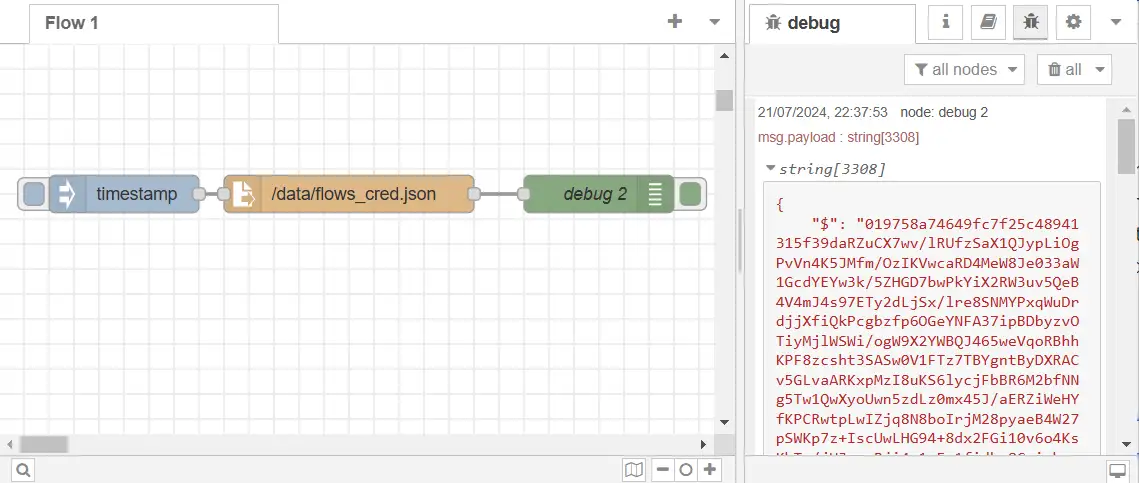
Copy the code below and use import from the Node-red menu. Deploy the flow and run it by clicking on the inject node. Copy the output from debug node and place it in the environment variable NODE_RED_FLOW_CRED.
[
  {
    "id": "10b05c8a2961c59b",
    "type": "file in",
    "z": "f6f2187d.f17ca8",
    "name": "",
    "filename": "/data/flows_cred.json",
    "filenameType": "str",
    "format": "utf8",
    "chunk": false,
    "sendError": false,
    "encoding": "none",
    "allProps": false,
    "x": 280,
    "y": 720,
    "wires": [
      [
        "2fb78df702a6885e"
      ]
    ]
  },
  {
    "id": "3dd51b594056972c",
    "type": "inject",
    "z": "f6f2187d.f17ca8",
    "name": "",
    "props": [
      {
        "p": "payload"
      },
      {
        "p": "topic",
        "vt": "str"
      }
    ],
    "repeat": "",
    "crontab": "",
    "once": false,
    "onceDelay": 0.1,
    "topic": "",
    "payload": "",
    "payloadType": "date",
    "x": 100,
    "y": 720,
    "wires": [
      [
        "10b05c8a2961c59b"
      ]
    ]
  },
  {
    "id": "2fb78df702a6885e",
    "type": "debug",
    "z": "f6f2187d.f17ca8",
    "name": "debug 2",
    "active": true,
    "tosidebar": true,
    "console": false,
    "tostatus": false,
    "complete": "false",
    "statusVal": "",
    "statusType": "auto",
    "x": 480,
    "y": 720,
    "wires": []
  }
]
Pros and Cons
Pros:
✔ Free Tier: Render’s free instances are great for testing, hobby projects, and learning.
✔ Data Persistence: Even if the instance spins down, your data remains intact in environment variables.
✔ Easy Deployment: Render simplifies deployment with a straightforward setup process.
Cons:
✔ Limited Resources: Free instances have limitations (e.g., CPU, memory, bandwidth).
✔ Spinning Up Delay: When the instance spins up after being idle, there’s a noticeable delay for incoming requests. By using a keep alive service like https://console.cron-job.org/ you can avoid the server from spinning down.
✔ Not for Production: Free instances are not suitable for production applications due to resource constraints.
Remember, this setup is great for tinkering, but for serious projects, consider more powerful hosting options. Happy coding! 🚀