Get started with your automation stack
Evolve at speed and scale with low-code automation
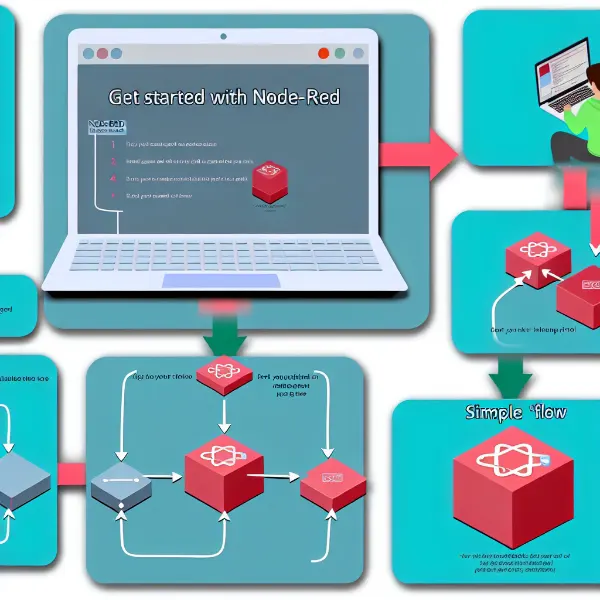
Evolve at speed and scale with low-code automation

Check out the video for a 2 minute walk through of deploying node-red.
When you click the buy button or the start now button a stripe pay form is displayed.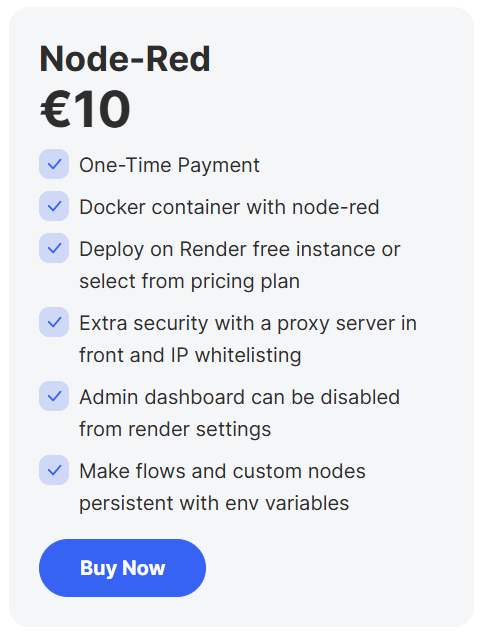
After a successful payment a page with four Render deploy buttons appears.
If you select a version where you set the Node-Red version from the Render dashboard environmental settings you can select which version to use from the Node-Red github https://github.com/node-red/node-red-docker. Under image variations you can select the version you want to deploy from the column Tag. In the NODE_RED_VERSION you can add 4.0.2-18. 4.0.2 is the Node-Red version and 18 is the NodeJS version. Will probably also work if you add latest in the field instead. 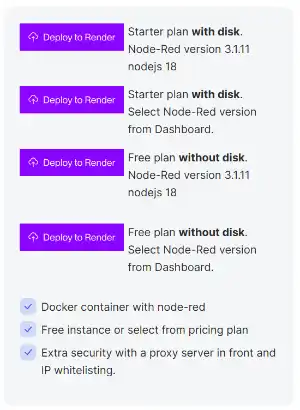
When you click on the Deploy to Render button a sign in page shows up, if you do not have an account select the Sign Up link below the Sign in button.
Sing in page
Create your account using social sign in or your email and a password. If you have selected the Deploy button for the Starter plan you will be asked for a credit card.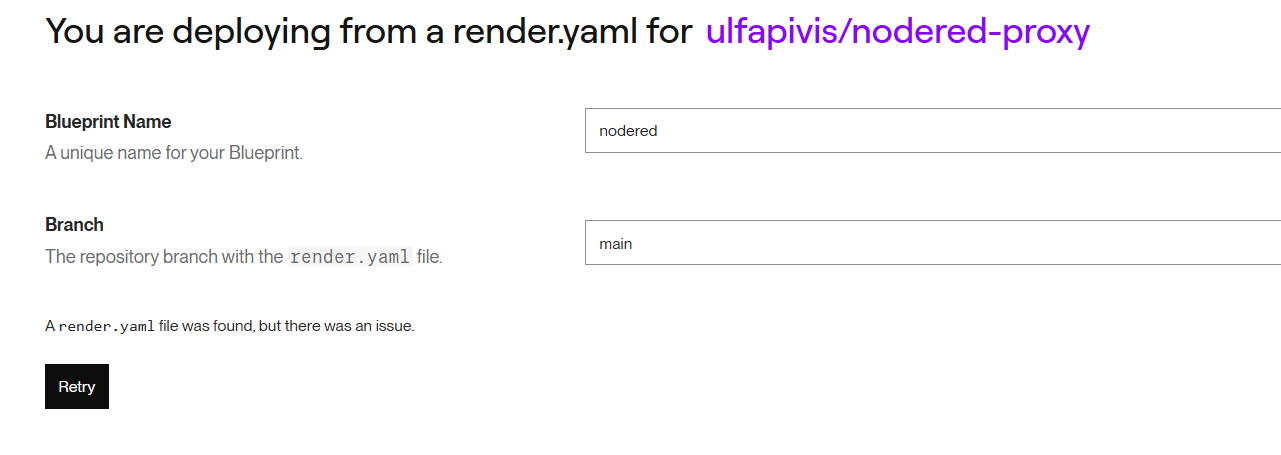
In the next step you fill in the blueprint name. The url will look something like this https://node-red-kyzc.onrender.com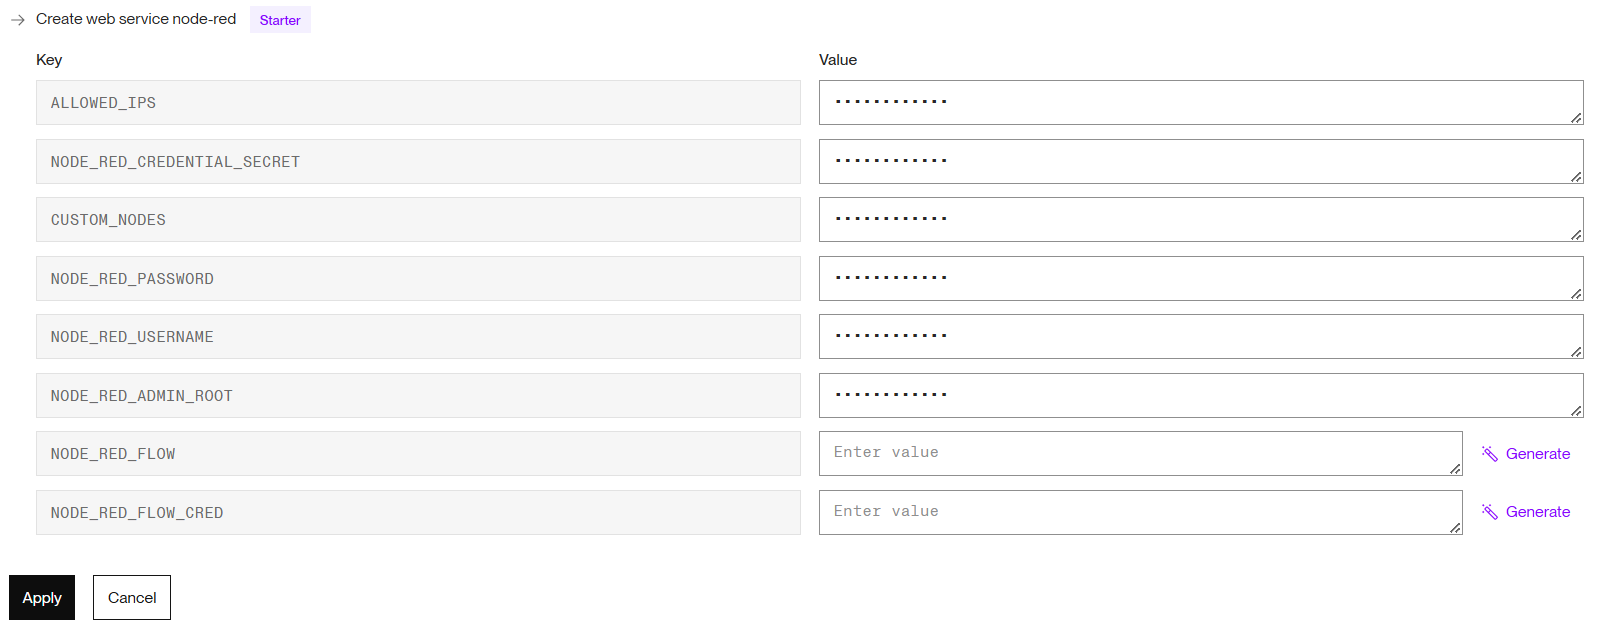
On the same page fill in the envirnomental variables.
ALLOWED_IPS = find it by going to the site https://www.myip.com
NODE_RED_CREDENTIAL_SECRET = click on generate to the right
CUSTOM_NODES = Add extra custom nodes here. If you add more than one custom node add a blank space between them. You can add the version name of the custom node like this: [email protected]
NODE_RED_PASSWORD = Your password for the admin dashboard. You can generate one by clicking on the generate button.
NODE_RED_USERNAME = Your username for the admin dashboard
NODE_RED_ADMIN_ROOT = set it to / or /admin or something. If you write false here the admin dashboard will be disabled. The server will still work but the admin dashboard is not accessible. This could be a way to make it even more secure as the login page will not be available.
NODE_RED_FLOW = If using a free plan export your first flow and copy it here.
NODE_RED_FLOW_CRED = On the free plan if you have a custom node that requires a password it will be saved to the flows_cred.json file. In node-red you need to read it using a read file node. Copy the output from the debug side bar and add it here. 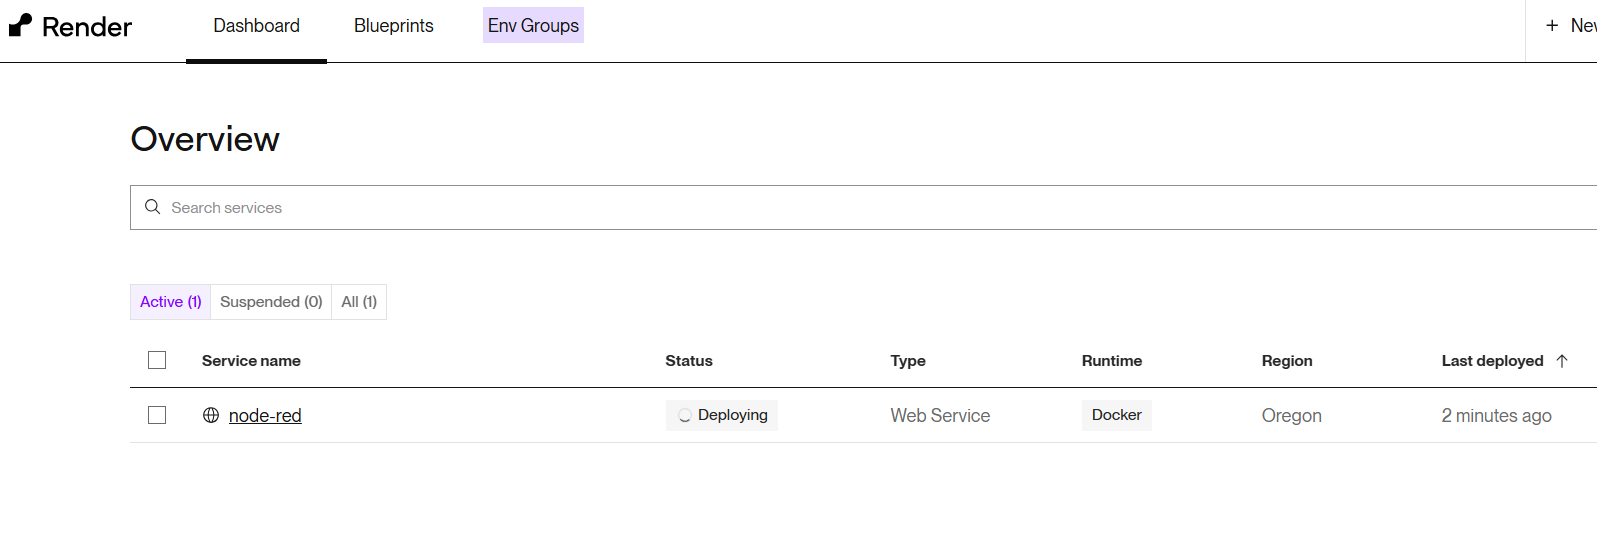
After saving the configuration the deploy starts.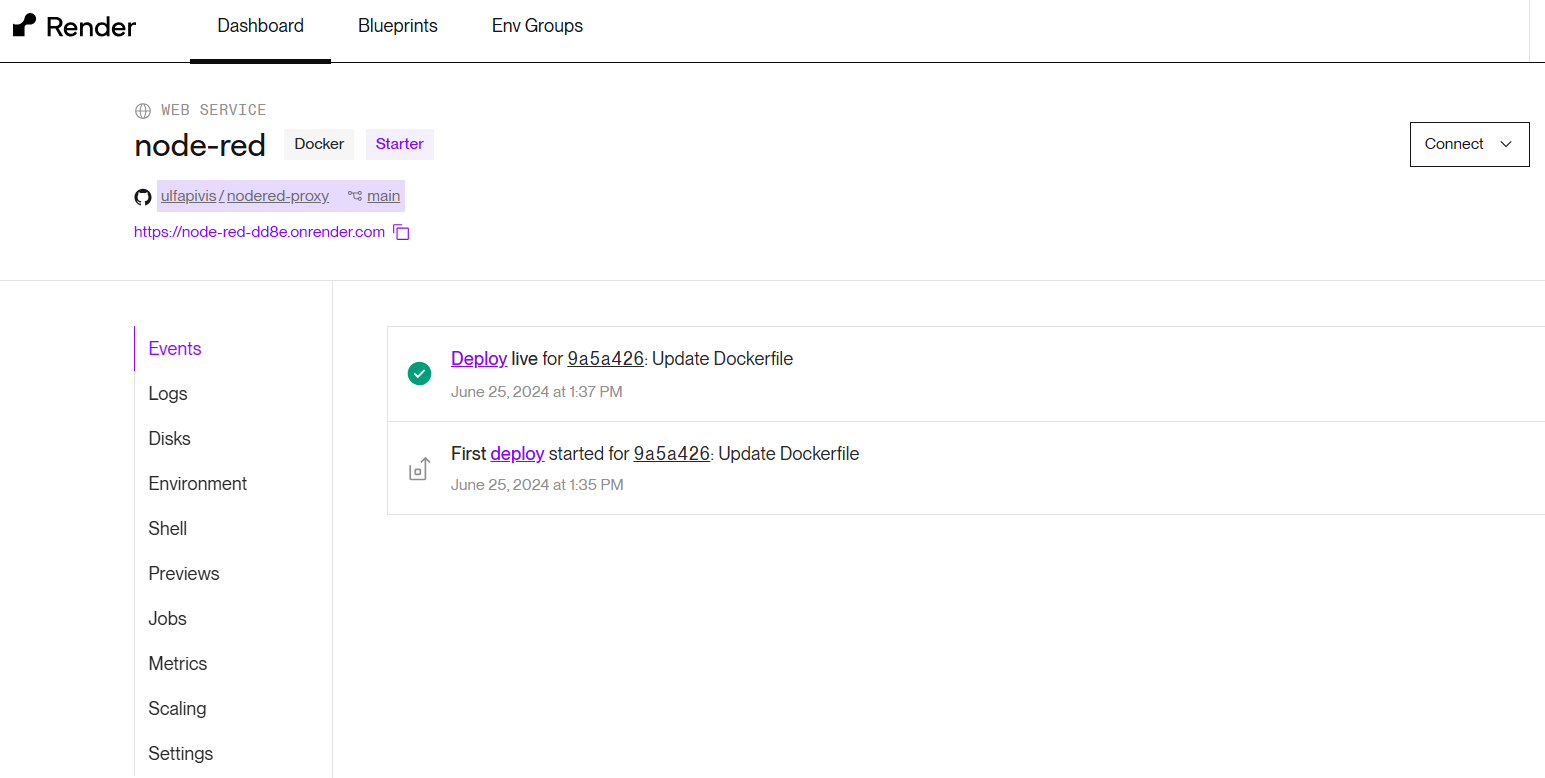
After a couple of minutes the service is live.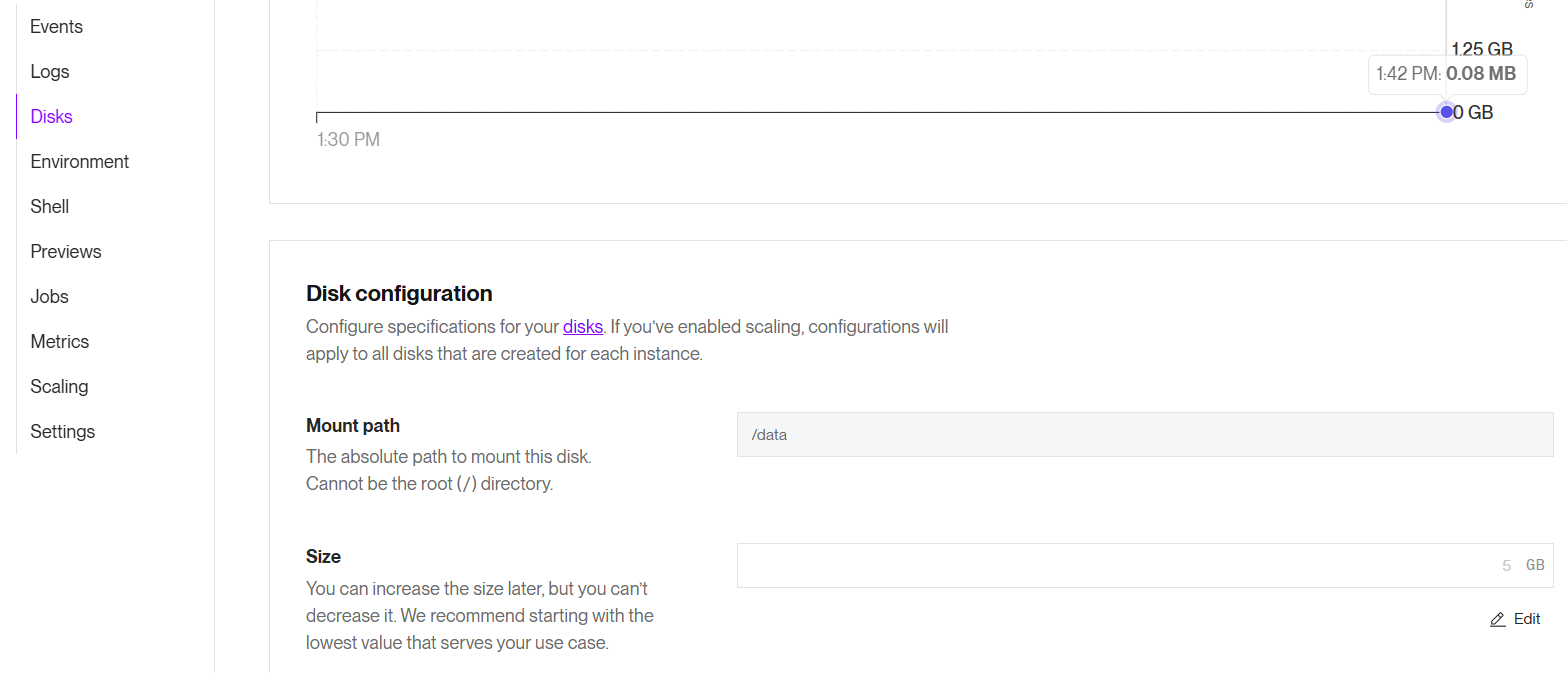
At Disks you can add a disk. Mount it to /data.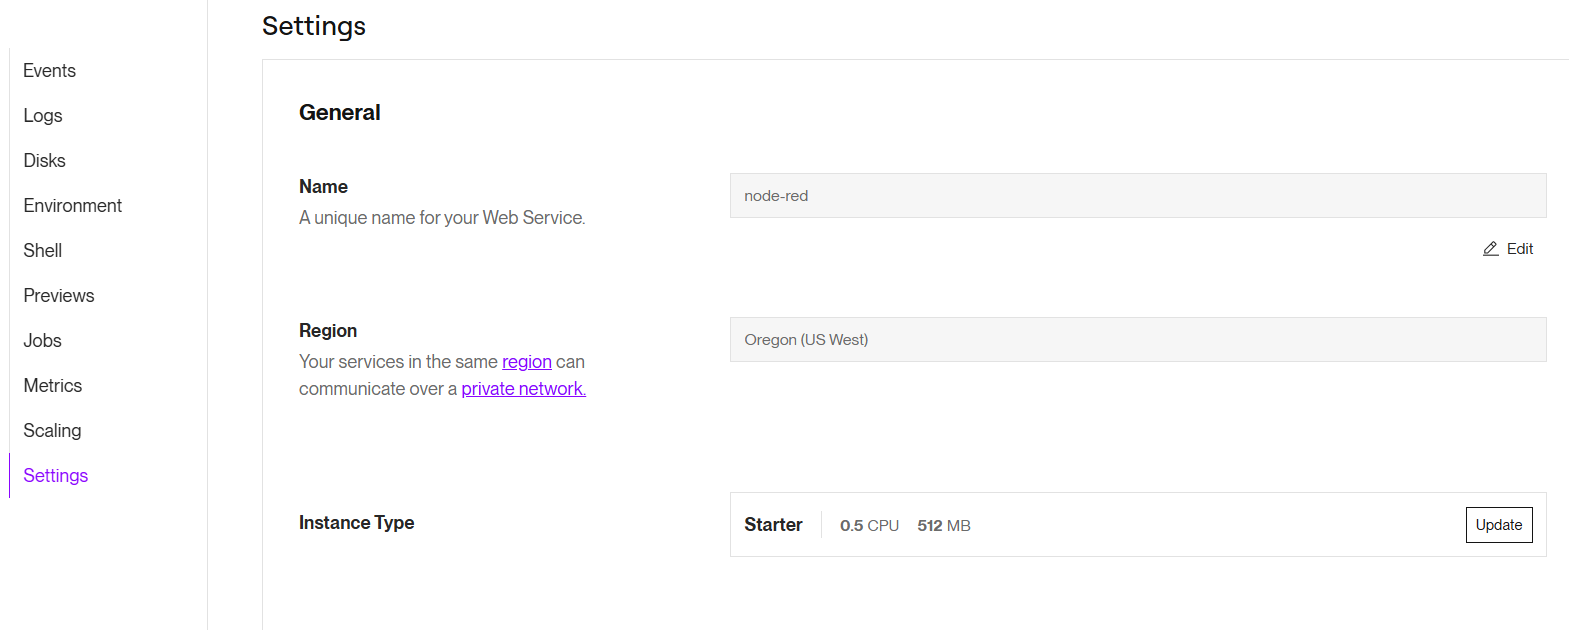
In the Settings you can select in which region to place the service.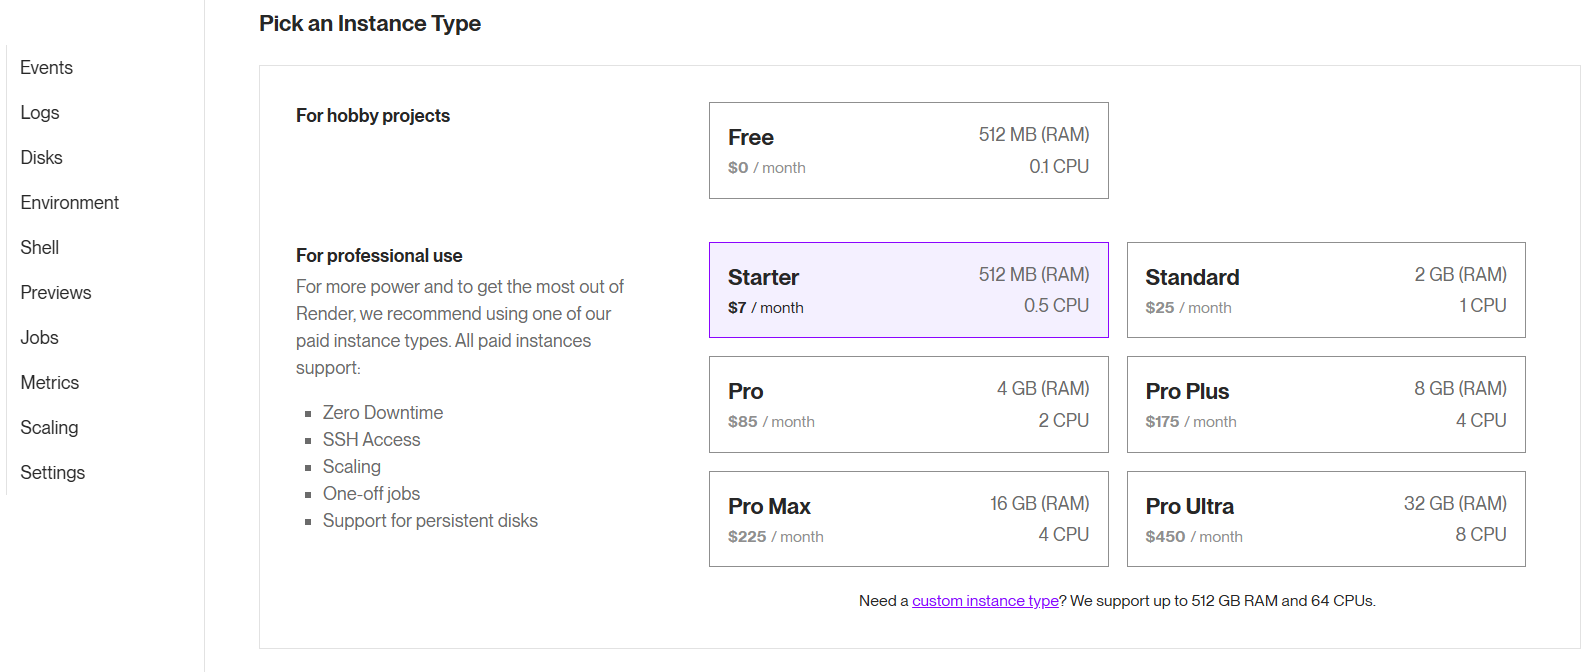
You can also change instance type.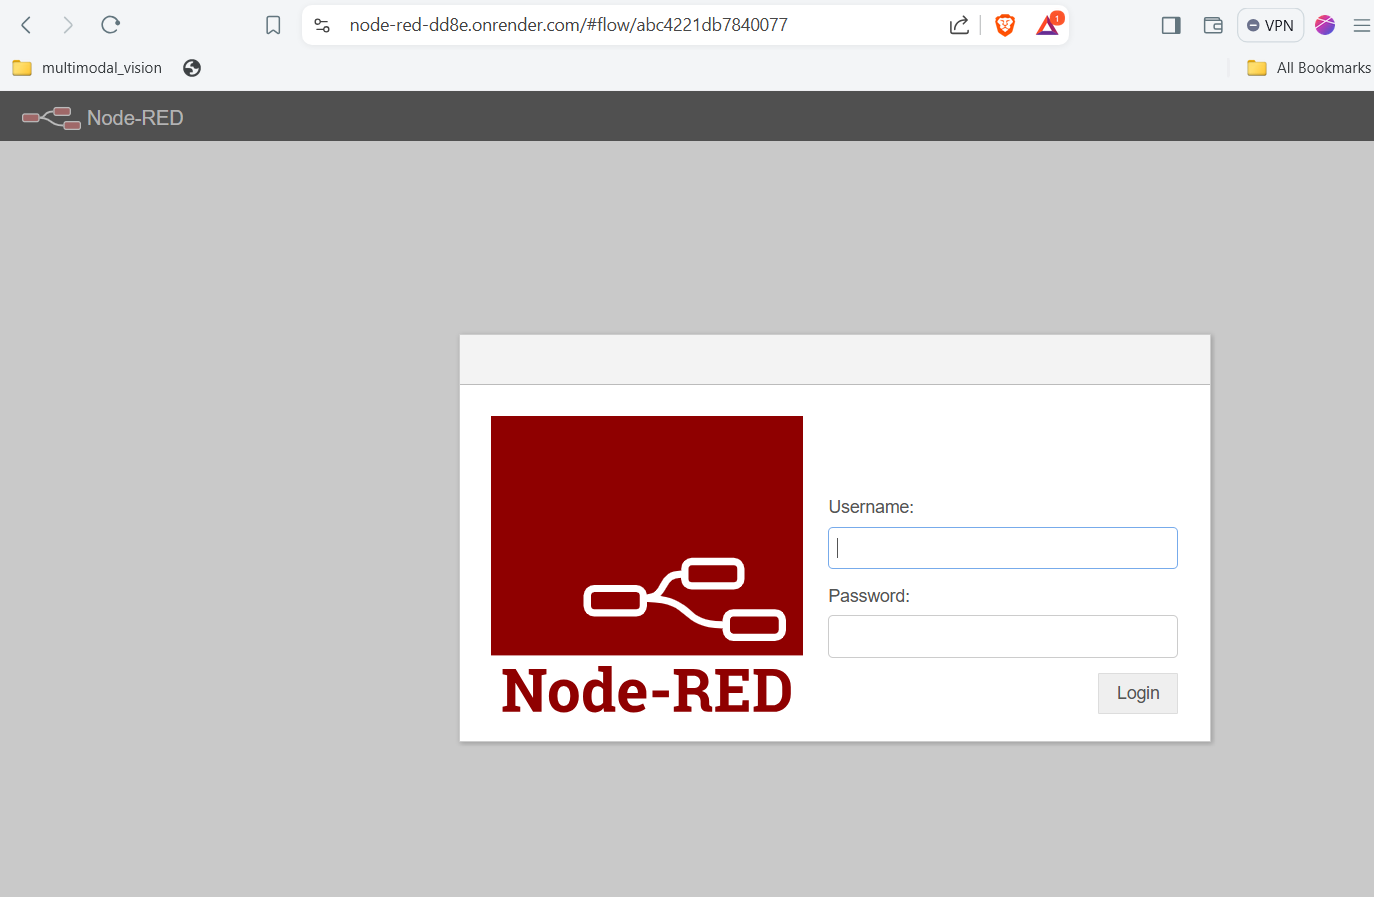
In the Render dashboard select the link to the service, load the page and you are ready to login.
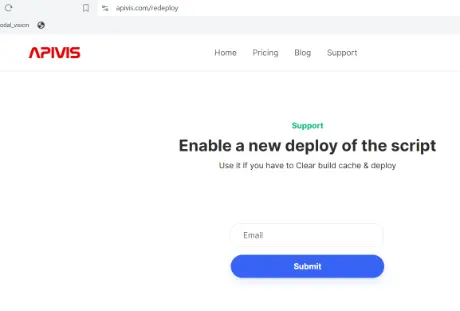
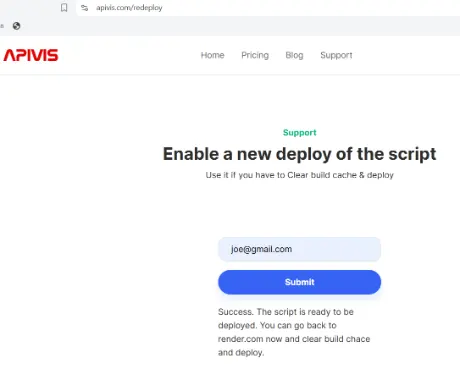
If you for any reason have to redeploy the install script and use the: Clear build cache & deploy on render.com. Go to the redeploy page and submit the email address that you used when you bought the install script.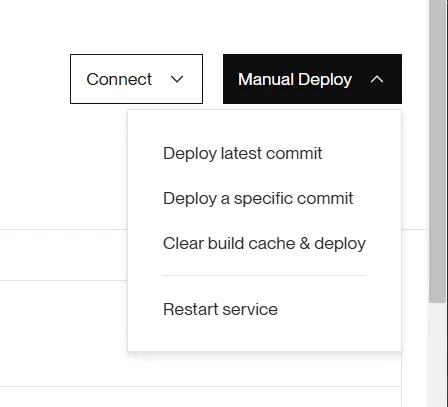
The redeploy page